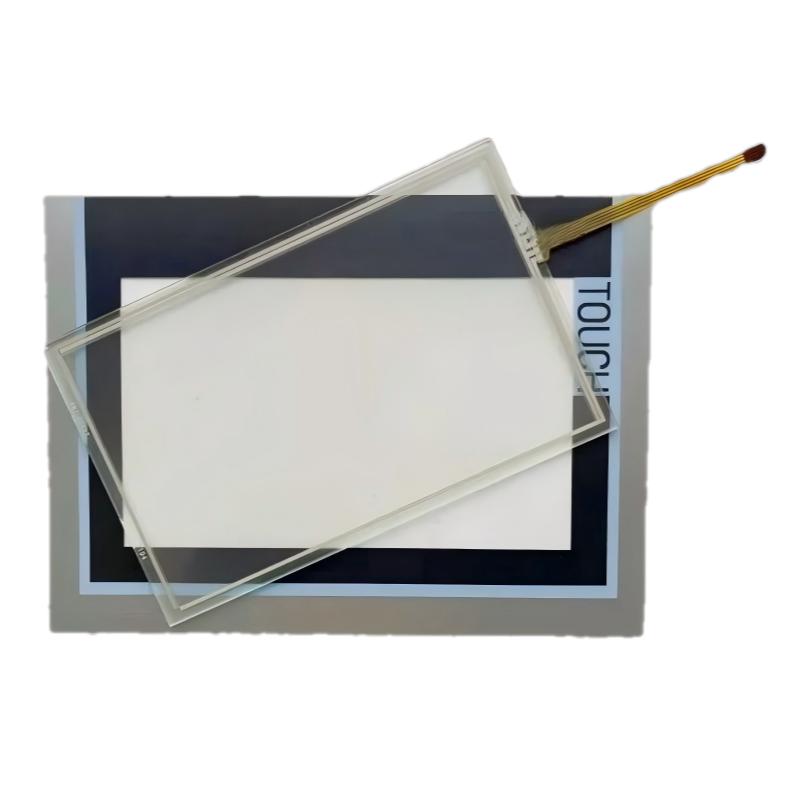
Siemens 6AG1124-0GC13-2AX0 OIT Replacement Display Touchscreen Installation Guide: Setup and Commissioning Procedure
iemens 6AG1124-0GC13-2AX0 OIT Replacement Display Touchscreen installation requires correct panel mounting, cable connection, HMI configuration verification, and touchscreen calibration. In industrial automation environments, most display replacement problems are caused by incorrect connection, incompatible configuration, or calibration errors rather than a defective replacement screen.
Siemens 6AG1124-0GC13-2AX0 OIT Replacement Display Touchscreen Application Overview
The Siemens 6AG1124-0GC13-2AX0 is an Operator Interface Terminal (OIT) replacement display/touchscreen component used for restoring visualization and operator control functions in industrial automation systems.
The touchscreen interface allows operators to:
- Monitor machine status
- Adjust process parameters
- View alarms
- Control equipment operation
- Access diagnostic information
- Interact with PLC Controller systems
The communication structure is:
Operator Touchscreen → HMI System → PLC Controller → Field Devices
A damaged display or inaccurate touchscreen response can directly affect machine operation because operators rely on the interface for process monitoring and control.
Siemens 6AG1124-0GC13-2AX0 OIT Replacement Display Technical Specifications
Before installation, confirm the replacement component information.
| Parameter | Specification |
|---|---|
| Manufacturer | Siemens |
| Model | 6AG1124-0GC13-2AX0 |
| Product Type | OIT Replacement Display / Touchscreen |
| Application | Industrial HMI Repair |
| Display Function | Operator Visualization Interface |
| Touch Function | Resistive Touchscreen |
| Installation Type | HMI Panel Replacement |
| Dimensions | 270 × 170 × 85 mm |
| Weight | 1.917 kg |
| System Application | PLC Visualization and Control |
Correct model identification is important because HMI displays with similar appearance may have different communication interfaces, mounting structures, or firmware compatibility.
Siemens 6AG1124-0GC13-2AX0 Replacement Preparation Before Installation
Before replacing the touchscreen assembly, prepare the HMI system correctly.
Required preparation:
- Shut down the HMI equipment
- Disconnect power supply
- Backup HMI project data
- Record existing wiring connections
- Confirm replacement model
- Prepare clean working tools
Before removing the damaged display, inspect:
- Touchscreen surface condition
- Connector status
- Internal cable routing
- Mounting clips
- Panel sealing condition
A common field mistake is replacing the display without checking whether the original problem is caused by the touchscreen hardware or the HMI communication system.
The correct engineering approach is:
Fault Confirmation → Hardware Replacement → Connection Verification → Touch Calibration → Functional Test
Siemens 6AG1124-0GC13-2AX0 OIT Display Installation Procedure
The replacement process should protect both the display assembly and internal electronics.
Recommended installation sequence:
Power Isolation → Remove Damaged Screen → Inspect Panel → Install Replacement Display → Connect Cables → Test Operation
During installation:
- Handle the touchscreen surface carefully
- Confirm connector alignment
- Avoid excessive cable bending
- Secure mounting screws evenly
- Check sealing condition
Uneven mechanical installation may create:
- Touch sensitivity problems
- Display pressure points
- Panel deformation
- Reduced service life
Siemens 6AG1124-0GC13-2AX0 Touchscreen Connection Setup
After physical installation, verify all connections.
Check:
- Display cable connection
- Touch interface connection
- Power supply connection
- Grounding connection
- Communication interface
A loose touchscreen cable can create symptoms such as:
- Display works but touch does not respond
- Random touch operation
- Partial touch area failure
Before troubleshooting software, always confirm the physical connection quality.
Siemens 6AG1124-0GC13-2AX0 HMI Configuration and Commissioning
After replacement, the HMI system requires commissioning verification.
Important checks include:
- HMI startup sequence
- Screen display quality
- Touch response
- Communication with PLC Controller
- Alarm display
- User interface functions
Commissioning workflow:
Hardware Replacement → Power Test → HMI Startup → Touch Calibration → PLC Communication Test → Production Validation
The touchscreen should be tested across the entire operating area, not only the main menu screen.
Siemens 6AG1124-0GC13-2AX0 Touchscreen Calibration Procedure
Touch calibration is an important part of Setup after replacement.
Calibration checks:
- Touch point accuracy
- Screen alignment
- Button response
- Operator input reliability
A small calibration deviation can cause:
- Wrong parameter entry
- Incorrect button selection
- Operator control errors
In production equipment, touchscreen accuracy is especially important because operators often interact with small control buttons during operation.
Siemens 6AG1124-0GC13-2AX0 System Configuration Verification
The display replacement itself does not normally change PLC logic, but the complete System Configuration should still be checked.
Verify:
- HMI project compatibility
- Screen resolution settings
- Communication driver
- PLC connection parameters
- User interface functions
A replacement display may operate physically while still showing communication problems if the HMI configuration does not match the original system.
Siemens 6AG1124-0GC13-2AX0 Field Replacement Case
During one machine maintenance project, operators reported that the HMI screen displayed normally but several touch buttons had no response.
The initial assumption was that the PLC Controller or HMI software had failed.
The engineer performed a diagnostic process:
- Display output: Normal
- PLC communication: Normal
- Touch response: Partial failure
- Cable inspection: Loose touchscreen connector found
After reconnecting the touch cable and recalibrating the screen, all operator controls returned to normal operation.
The failure was caused by a connection problem, not by the PLC system.
Siemens 6AG1124-0GC13-2AX0 OIT Display Maintenance Recommendations
For reliable operation, monitor:
- Touch accuracy
- Display brightness
- Connector condition
- Panel sealing
- Operating temperature
Avoid:
- Strong impact on touchscreen surface
- Chemical contamination
- Excessive humidity
- Unstable power supply
Proper maintenance reduces unexpected HMI downtime.
Siemens 6AG1124-0GC13-2AX0 Installation Troubleshooting
| Problem | Diagnostic Direction |
|---|---|
| No display | Power and display connection |
| Touch not responding | Touch cable and calibration |
| Incorrect touch position | Calibration settings |
| PLC data missing | Communication configuration |
| Random operation | Cable connection and interference |
| Screen flickering | Power quality |