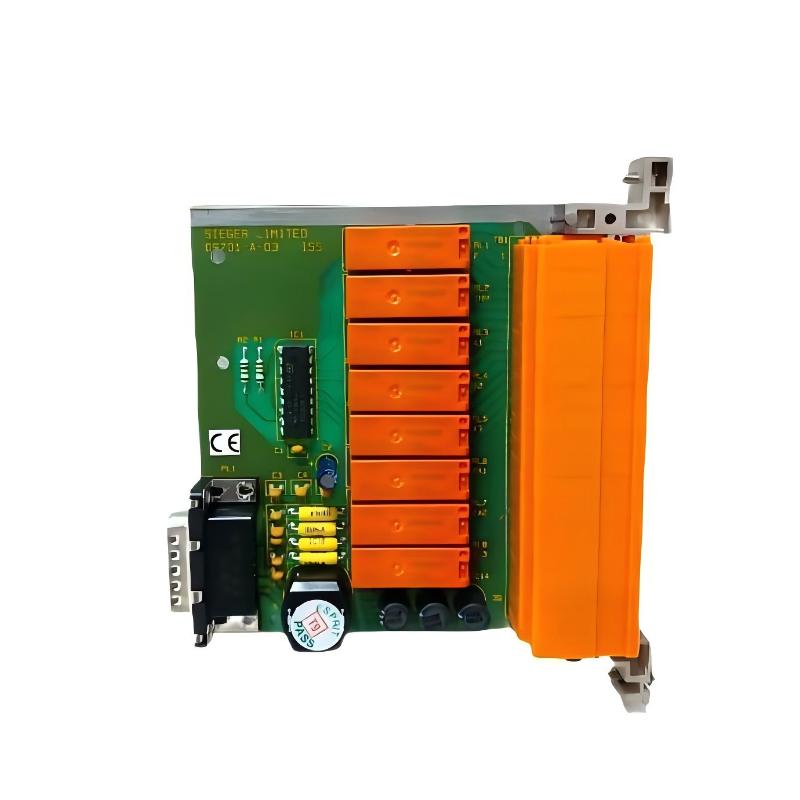
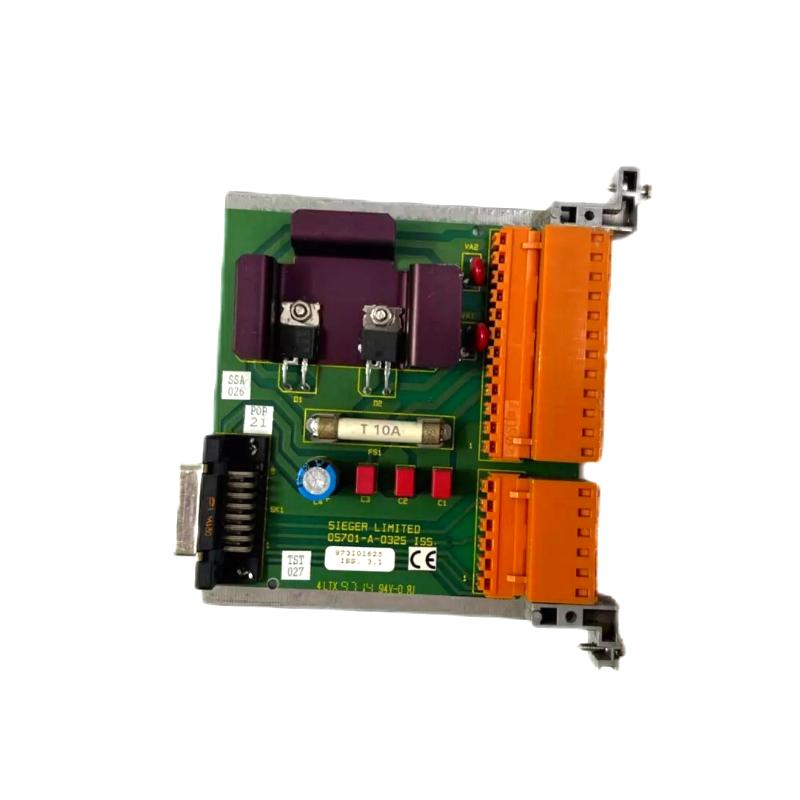
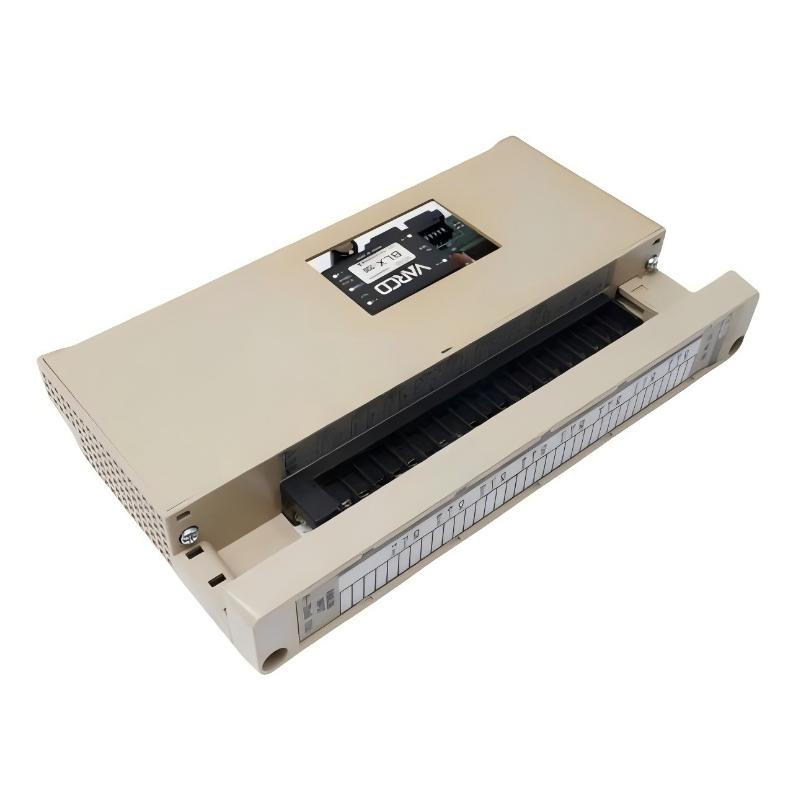
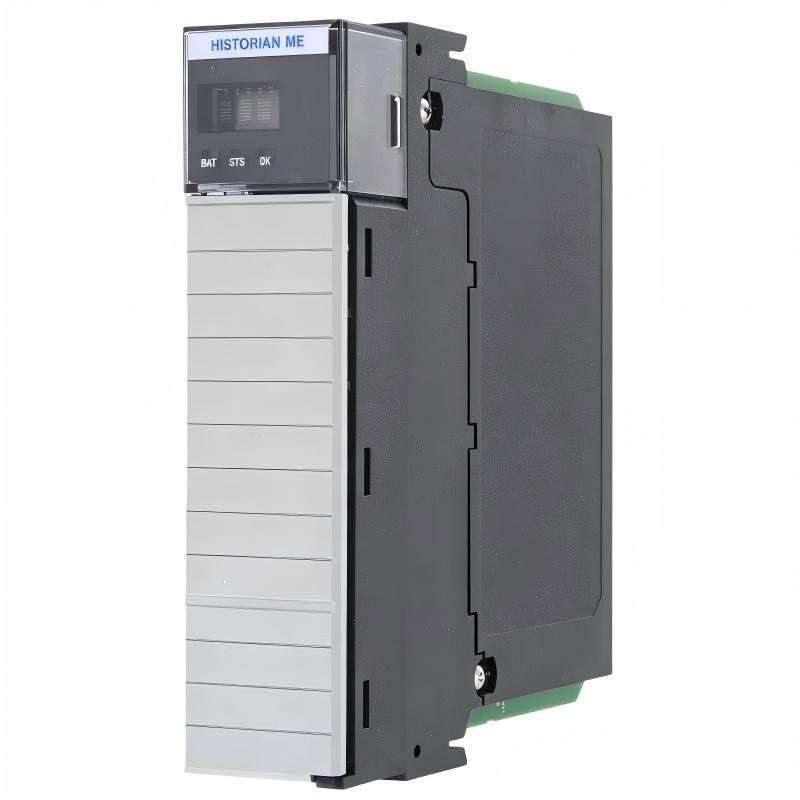
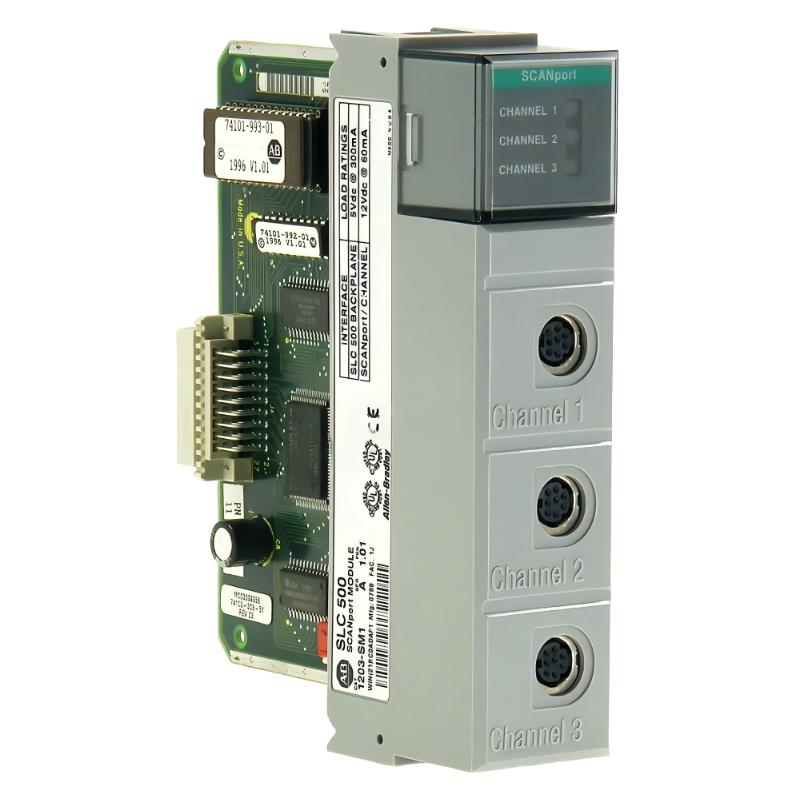
Honeywell 2MLF-AD16A 16-Channel Current Input Module Installation Guide for MasterLogic-200 PLC System
Honeywell 2MLF-AD16A installation and signal instability issues are most often caused by incorrect current loop termination, channel configuration mismatch, or shielding design errors rather than module hardware failure. In MasterLogic-200 PLC systems, the 2MLF-AD16A 16-channel analog input module is designed for high-speed acquisition of 4–20mA and voltage signals from field instruments, making wiring discipline and grounding strategy critical for stable operation.
This module supports up to 16 independent analog inputs with fast conversion speed (500 μs/channel), which means even small wiring noise or impedance mismatch can create visible signal jitter in the PLC process data.
Honeywell 2MLF-AD16A System Role and Pre-Installation Engineering Check
The Honeywell 2MLF-AD16A module is used for multi-channel analog signal acquisition in industrial automation systems, especially for:
- Pressure transmitters (4–20mA)
- Temperature transmitters
- Flow and level instrumentation
- Energy monitoring systems
Before installation, engineers must confirm that the module is correctly integrated into the MasterLogic-200 backplane architecture.
Critical Pre-Checks
- Ensure PLC rack power is OFF before insertion
- Confirm correct slot alignment in the I/O rack
- Verify 24VDC field loop supply stability
- Check input type configuration (current vs voltage mode)
- Confirm shield grounding strategy (single-point grounding only)
Honeywell 2MLF-AD16A Wiring and Channel Configuration Logic
Each of the 16 channels is designed for either voltage or current input depending on configuration.
Supported input ranges include:
- 4–20mA / 0–20mA current loops
- 0–10V, ±10V voltage signals
- 1–5V industrial sensor outputs
Field Wiring Structure (Typical 4–20mA Loop)
In a standard configuration:
- Transmitter → PLC AI+ terminal → PLC AI− / return
- Loop powered by external 24VDC supply
- Input resistance: ~250Ω for current measurement
A common field mistake is incorrectly sharing loop return between multiple channels, which introduces cross-channel interference due to shared impedance inside the module.
Honeywell 2MLF-AD16A Installation Case Study (Signal Drift Problem)
During a chemical dosing control system commissioning, engineers observed unstable readings across multiple channels:
| Channel | Expected | Actual Behavior |
|---|---|---|
| AI-01 | 12.0 mA | 11.4–13.2 mA fluctuating |
| AI-02 | 8.0 mA | intermittent spikes |
| AI-03 | stable loop | noise at startup |
Initial assumption: defective module.
However, field diagnostics revealed a different root cause.
Engineering Observation
- All transmitters tested individually → stable output
- Module replaced → no improvement
- Noise increased during motor startup cycles
After deeper inspection:
- Analog cables were routed parallel to a 55kW VFD motor cable tray
- Shield grounding was connected at both PLC cabinet and field junction box
- Loop impedance variation detected during load switching
Root Cause
Electromagnetic interference + dual-point shield grounding created induced current loops affecting the 250Ω input resistor network inside the module.
Correction Actions
- Re-routed analog cables away from power lines
- Implemented single-point grounding at PLC cabinet only
- Added separation distance >30 cm from VFD cables
Result
- Signal fluctuation reduced from ±1.2 mA to ±0.1 mA
- Channel consistency restored across all 16 inputs
- No further spike events after commissioning stabilization
Honeywell 2MLF-AD16A Commissioning and Signal Validation
After installation, commissioning should focus on verifying analog stability rather than simply confirming signal presence.
Recommended Commissioning Sequence
- Apply known 4mA calibration signal
- Verify digital conversion output stability
- Increase to 12mA mid-scale test
- Confirm linear scaling accuracy
- Apply 20mA full-scale signal
- Observe channel-to-channel consistency
- Monitor during load switching cycles
Field Diagnostic Insight
In one refinery application, engineers noticed that channels 9–16 showed slightly higher noise than channels 1–8.
Investigation revealed:
- Shared internal grouping inside module backplane
- Power noise coupling from adjacent output modules
- Cabinet grounding resistance slightly above recommended threshold (0.9Ω vs ideal <0.5Ω)
After grounding correction, cross-channel deviation dropped below 0.2%.
Honeywell 2MLF-AD16A Installation Risks in Industrial Plants
The most common installation issues in real plants are not electronic failures but system-level engineering mistakes.
Key Risk Factors
- Incorrect current loop polarity in 4–20mA transmitters
- Shield grounded at both ends (earth loop current)
- Mixed analog and VFD power cable routing
- High contact resistance at terminal blocks
- Channel configuration mismatch in SoftMaster settings
Real Industrial Insight
In a water treatment plant, intermittent zero-drift was observed only during pump startup cycles.
Measured conditions:
- Loop current dropped from 16mA → 14.2mA briefly
- Pump motor start current created voltage dip in 24VDC rail
- Analog input module interpreted dip as signal variation
After separating PLC power supply from motor control supply:
- Signal stability fully restored
- No further drift during pump cycles